Casio Ana-Digi AQ-340 Battery Change (Module 309)
Casio Ana-Digi AQ-340 Battery Change.
18/2/2023
Hello fellow Casio watch enthusiasts, collectors and anyone else that is interested.
As the title suggests, I going to be changing the battery on my 1986 Casio AQ-340 Ana-Digi or can be also known as a combi watch. This means the watch has a traditional handed display and also an LCD display. The LCD normally combines an alarm, stop watch, hourly chime and dual time. These watches were first released back in 1983-84ish and I've loved them ever since. I love them so much, I bought two models. As the watches are very old, they do have a lot of defects but this is to be expected due to their again. Remember these watches are 40 years old, so their condition is fair to say the least. I bought these watches around 5 years ago and they were very cheap but had parts missing. The prices of these watches are now starting to appreciate due to the rarity. I rarely wear them, therefore I do a check every now and again to see how the batteries are doing. And it's worth doing, believe me. A leaking battery will destroy a watch beyond repair and I won't take that risk. As you can image, there are no spare parts to repair these classic pieces due to their age.
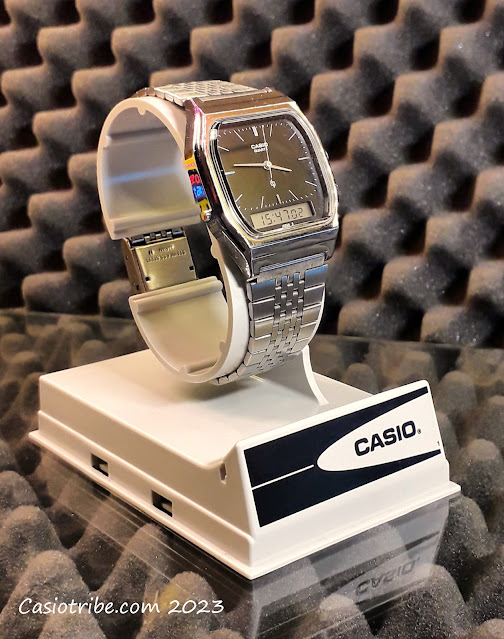
Above is my Casio AQ-340 finished with a black dial. As you can see, the LCD screen time is fading, indicating the battery is low on reserves and needs to be replaced. Unfortunately, these watches are not equipped with a low battery indicator and you have to monitor the condition of the battery with a manual inspection.
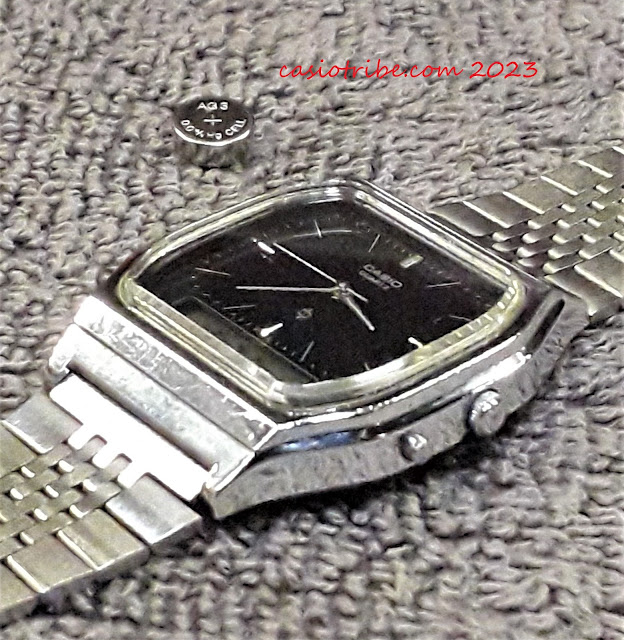
With a new battery in hand (AG-3), it was time to get the watch ready to open up and remove the watch back.
With the watch turned onto it's face (on a soft surface), I could now start the replacement procedure.
With the Casio AQ-340 (also true for the AQ-321), the strap has to be removed to access the clips to the watch back the secure it to the case. Using the correct tool, it only took a couple of minutes to remove the strap.
The yellow arrow is pointing to where the back case clips are located and can be easily undone using the tool in the above picture.
As I stated earlier, this watch was cheap as it was missing some parts but I had not replaced the missing screw for the battery holder. DOH.
At this point, I was shocked I had not replaced the missing screw as I'm normally 100% in finding faults. However, I had many years ago bought another very cheap Casio AQ-340 that wasn't working and it is now a donor watch for my working AQ-340.
The yellow arrow is pointing to the screw I will be removing from this donor watch to the working AQ-340.
With the replacement screw in hand, I quickly changed out the battery and then secured it with the replacement screw and battery holder. Looking great and original at the back.
Before I replaced the watch back, I turned the watch over to ensure it was operational. And yes, the battery replacement was a success. All the segments are working and are now very dark and clear. Happy days! Time to reassemble the watch.
Once the battery was fastened down, I could replace the battery insulator back into the watch. The insulator actually covers a lot of the watch as can be see with the yellow arrows in the above picture.
I then reinstalled the watch back rubber case seal as can be seen above. A lot of these surviving watches have lost their seals, I'm pleased this watch has one but I still wouldn't put it in water.
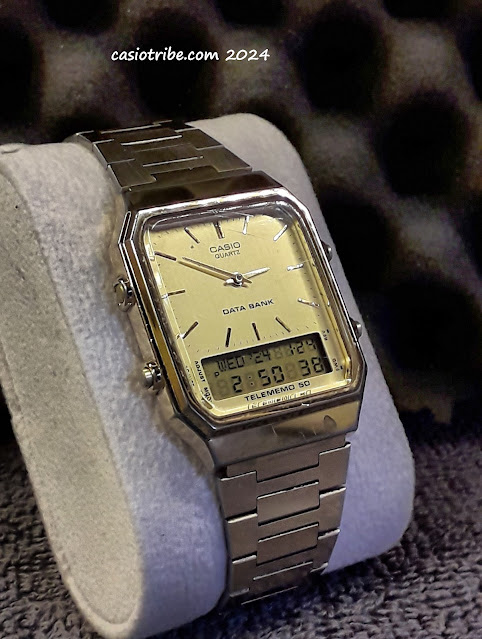
With the watch now reassembled and the LCD looking like new, I also replaced the battery on the AQ-321 (white dial), which is exactly the same procedure as the Casio AQ-340. I can now give both watches a clean and return them to the display case for safe keeping.
The AQ-340 and the AQ-321 are not by any means MINT (perfect) condition. However, I am always searching for parts, that, from time to time appear at auction. I live in hope my fellow enthusiasts.
I hope you have enjoyed and maybe learned a little in this humble post my friends.
Please join me again for my other projects.
Until then,
Take Care.
18/02/2023
casiotribe.com 2023


Comments
Post a Comment